The WordPress SEO plugin by Yoast is one of the best SEO software around to help optimize WordPress blogs.
The SEO suite has a lot of functionalities and it can be quite confusing to choose. I wish I could explain every aspect but due to time and space constraints, I resort to show you the exact settings to follow. You will learn how to setup WP Yoast plugin for better SEO impact. You can read more about Blog SEO Tips

Plugin Installation
- Log in to WordPress.
- From Dashboard, go to Plugins > Add New.
- Search for ‘WordPress SEO by Yoast’.
- Click ‘Install Now’ and ‘Ok’ the page asking if you really want to install the plugin.
- Once the plugin is downloaded and installed, click on ‘Activate Plugin’.
…that’s it.
Now, you can see a new menu item titled SEO on the Dashboard.
Settings to Setup WP Yoast Plugin
Let’s go to the customizations.
SEO > Dashboard
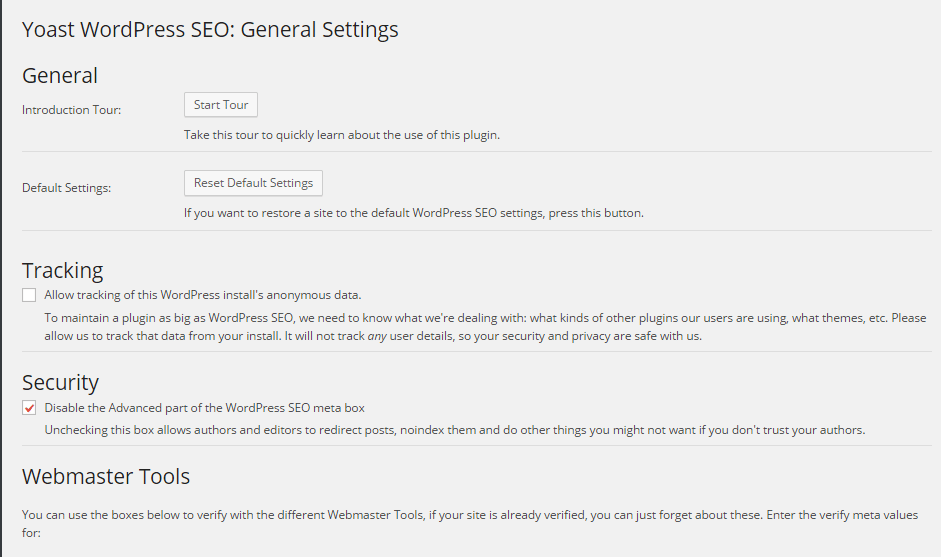
- You can choose to allow the plugin developers track data. Just tick the option.
- Enable “Disable the Advanced part of the WordPress SEO meta box” if you don’t allow other blog authors.
- The Webmasters Tools option is really good. You can add all the verification codes without tampering the theme files.
SEO > Titles & Meta
In General:
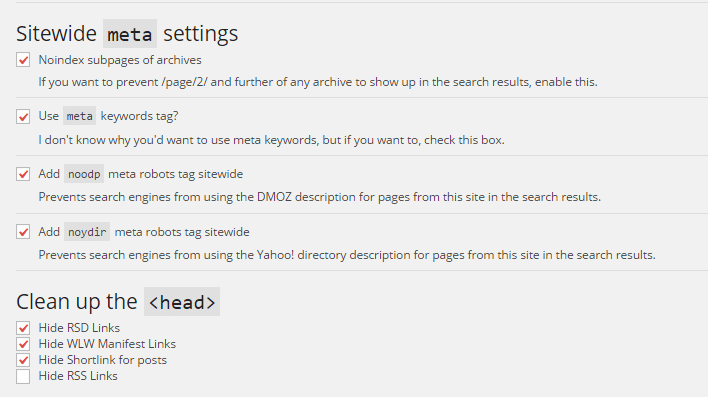
- Enable all the four options in Site-wide Meta settings.
- Enable Hide RSD links if you aren’t using any 3rd party software that uses xml-rpc to publish on your blog remotely.
- Enable Hide WLW if you aren’t using Windows Live Writer.
- Enable Hide shortlink for posts if you aren’t using the default WP shortlink.
- Hide RSS links shouldn’t be enabled if you’ve a blog on your website.
Skip Home, Post Types & Other. In Taxonomies, enable ‘noindex, follow’ for all the sections.
SEO > Social
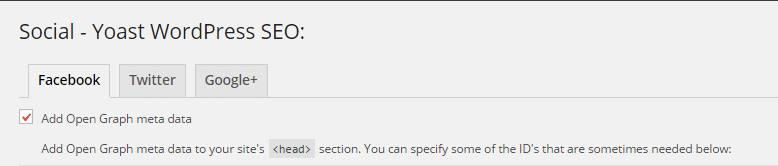
This is complicated stuff and if you’re a beginner blogger, you should leave it as it is. One wrong move can ruin everything. It’s best to use a social sharing plugin instead like Digg Digg or Flare.
SEO > XML Sitemaps
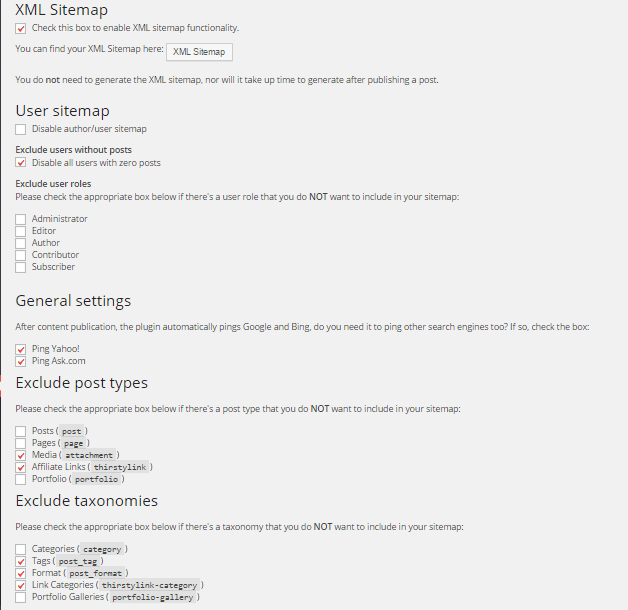
If you aren’t using the Google XML sitemaps plugin, I suggest you to enable the Yoast XML sitemaps option. It helps to create a clear sitemap structure for Google to crawl. Choose what you want to display in sitemaps and save.
SEO > Permalinks
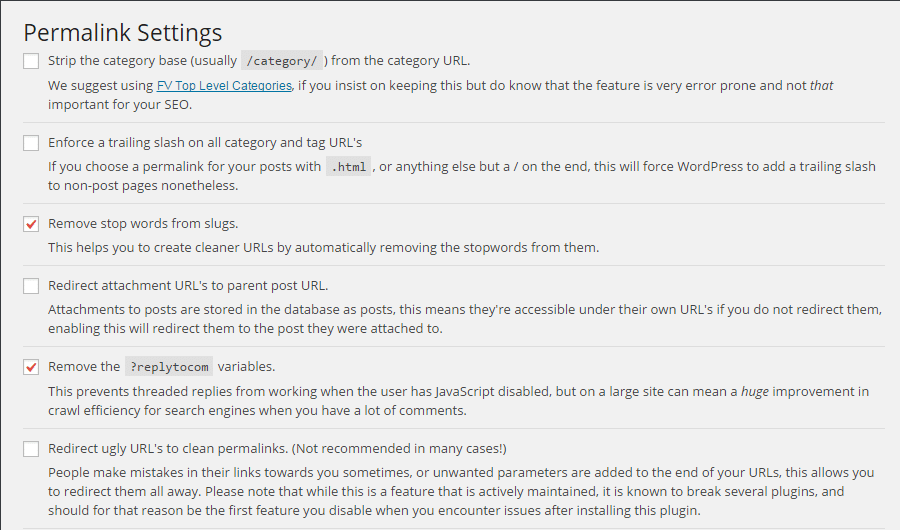
This section helps to improve the site’s link structure.
- Do not enable ‘Enforce a tailing slash…’
- Enable ‘Remove stop words from slugs’ as it will help to create cleaner blog post URLs.
- Do not enable ‘Redirect Attachment URLs…’ because when you add media, it is not necessary to show the media links. You can display media link as ‘None’.
- Enable ‘Remove the ?replytocom variables’ as it will prevent creation of threaded replies. It is beneficial for sites receiving a lot of comments.
- Do not enable ‘Redirect ugly URLs’. Focus on creating clear URL structure from the start.
SEO > Internal Links
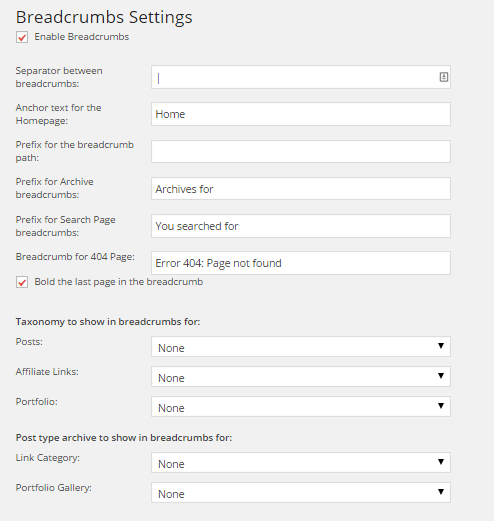
This section helps to improve the site architecture.
Click to enable Breadcrumbs and leave everything as default.
SEO > RSS
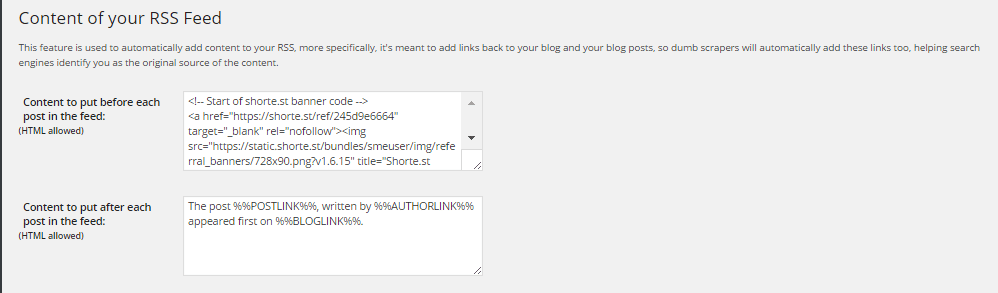
Every blog has a RSS feed and this option helps to optimize the feed.
For instance, it adds %%AUTHORLINK%%, %%POSTLINK%%, %%BLOGLINK%% and %%BLOGDESCLINK%% on RSS feed so that content scrapers can’t misuse it. Even if someone copies your blog content, the scrapers will automatically add the links too.
An interesting feature here is the ability to add content before each feed. If you want to monetize the blog, add a 728 x 90 advertisement banner. Every member on your RSS feed will see it and you earn depending on their actions.
Just copy the HTML code, paste and save. The advertisement will show up within few minutes in the RSS feed.
SEO > Import & Export
If you’re switching to Yoast SEO from other SEO plugins – Head Space 2, All-in-One SEO, Old All-in-One SEO and WooThemes SEO Framework – use the importer option to transfer data into Yoast. This way you don’t lose previous SEO settings.
Alternatively, if you want to give up Yoast and go for any other plugin, export the data and import it on the new SEO plugin with the help of this section. This way you don’t need to spend any more time to setup WP Yoast plugin.
SEO > Bulk Title Editor
If you want to improve and change the post titles, use this section. Note that it won’t change the original post title, just the title which shows up in the Yoast SEO optimization section. These titles show up in search engine results so create them wisely.
SEO > Bulk Description Editor
The same logic as above applies here too. You can bulk edit post descriptions and they will show up on search results. Remember not to spam this section with keywords. Give meaningful post summaries.
These two options are really cool as it avoids visiting each post individually and making changes.
SEO > Edit Files
This is the section to edit .htaccess and robots.txt files. Don’t mess with them if you are unaware of their usage. Get professional help instead.
SEO > Extensions
Yoast offers premium plugins like Local SEO and Premium SEO which can be bought from that section. Local SEO plugin is recommended if you’ve a local business website.
I hope you learned how to setup WP Yoast plugin. Yoast SEO is the best SEO suite available these days. Use it for maximum results.
Note: For better performance we highly recommended you to read wordpress SEO friendly theme.