Previously, we learned about setting up WordPress remotely on your computer using WAMP or XAMPP. In this follow-up post, we will learn how to upload remote WordPress on live server.
The process of moving a WordPress site from local to live server can encounter unknown errors. Without adequate technical knowledge, it isn’t easy.
While I have tried to cover every aspect, you might experience some hiccups. If you are completely a WordPress beginner, I suggest you to take the help of someone knowledgeable in WordPress and not try these steps on your own. Or, try the steps on a dummy WordPress site before you begin to upload remote WordPress on live server.
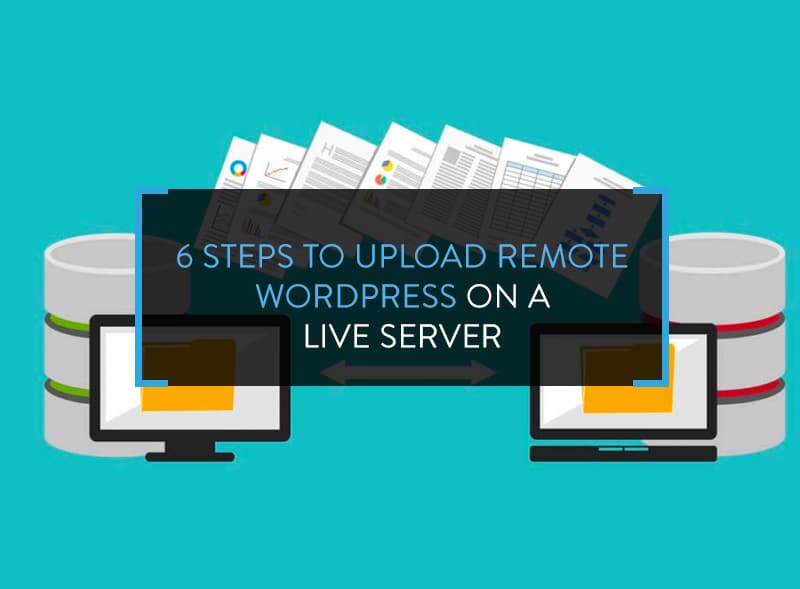
6-Steps to Upload Remote WordPress on Live Server
Before I show you the steps, have these things ready:
- Access to local site
- Access to web hosting
- FTP account details
Let’s move on.
Step 1: Download Database.
Go to https://localhost/myphpadmin and login. Select the database for download and click on Export from the top menu bar.
Click on Export Method to select all tables and Gzip for compression. Click on Go to download the database.
Step 2: Upload WordPress Files
Connect to the live site using the FTP details. Once the connection is established, upload the WordPress files in the right directory. You need to upload the files and not the database. If the site will be on yourdomain.com, upload the database on public_html directory.
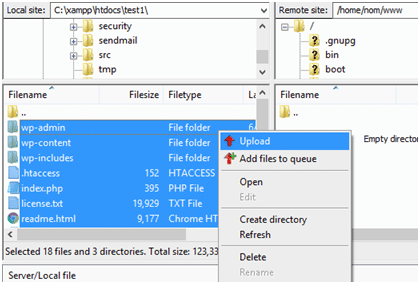
The uploading takes some time.
Step 3: Upload Database
While the files are uploading in step 2, utilize the time to upload the database into MySQL. Login to your cPanel and go to MYSQL databases and click on the icon. On the next page, create your database by giving a suitable name.
Link the newly created database to an existing user or create a new user on the same page. It is very important to connect the user to the database. The site will never work if you miss this step.
Once done, you are taken on the next page where you are asked to grant privileges to the user. Simply grant all access and save.
Step 4: Adding WordPress Database
So, at the moment, you should have all the WordPress files uploaded on the right server directory through FTP and a newly created database with proper user and usage rights.
However, the new database is empty of tables. Therefore, as in step 3, go to cPanel dashboard and click on the phpMyAdmin. When it opens, click on the newly created database from the left hand panel. Notice there are no tables there, right?
Now, click on the Import option from the top menu bar and here, you have to select the Gzip file downloaded from Step 1. Got it?
All the information will be imported to the new database. Once done, you can refresh and again click on the database and find newly created tables containing your site information.
Step 5: From Localhost to your Domain
At this juncture, you have the WordPress files and databases uploaded in their designated folders.
The next step is to change the URL. On the local server, all the links were created like https://localhost/post-name/, right? But, once the site goes live, it should be https://yourdomain.com/post-name, right?
This step is about making this switch.
- Go to the phpMyAdmin and click on the database.
- Locate wp_options table and click on it.
- See the first option_name (siteurl) and option_value will have https://localhost/
- Click Edit and insert your domain URL and click Go to save.
- Repeat the same process for option_name (home). The home URL given here should be same as siteurl.
…and that’s it.
Step 6: Site Configuration
If you check whether the site is live or not, you will see “error establishing a database connection?. This is because the database is not configured. You need to edit the wp-config.php file.
Use FTP to access the file and change:
- database name
- username
- password
You should change these with the values established in step 3. Save the changes and upload it back on the server.
Check the site URL now. It should be live.
Login to WordPress and go to Settings > General and Settings > Permalink. Just save the options again. The live site should be working fine.
Sometimes images may go missing. Do not worry. Just install the Velvet Blues Update URL’s plugin. The screenshots are self-explanatory.
With this you learned how to upload remote WordPress on live server.